


Willkommen auf 247brass.com!
Deiner Plattform für eine einzigartige und effektive Art, dein Blechblasinstrument zu meistern!
Hier erfährst du, wie 247brass dich nicht nur beim Lernen unterstützt, sondern dir auch eine musikalische Zukunft eröffnet, die du so noch nicht erlebt hast.


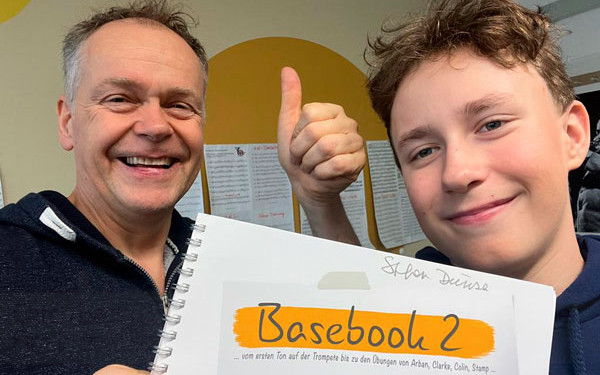
Auch der Erfolgsautor Stefan Dünser (Trompetenfuchs) ist bereits in der Basebook Community
Feedbacks & Videos anzeigen
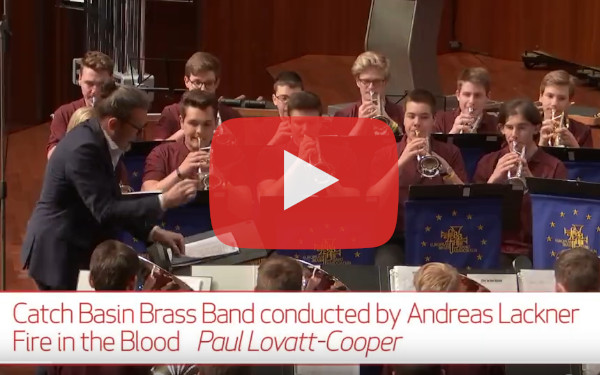
Die Catch Basin Brass Band mit Prof. Andreas Lackner – amtierende Europameister
Video auf YouTube ansehen
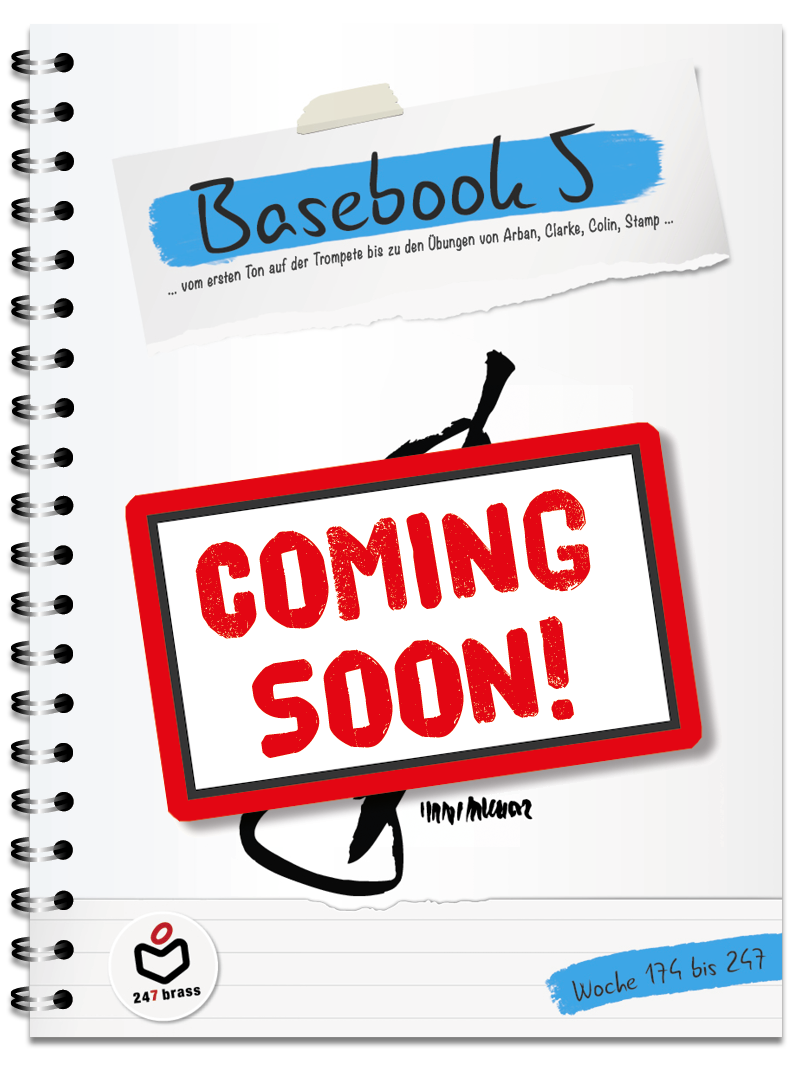
Basebook

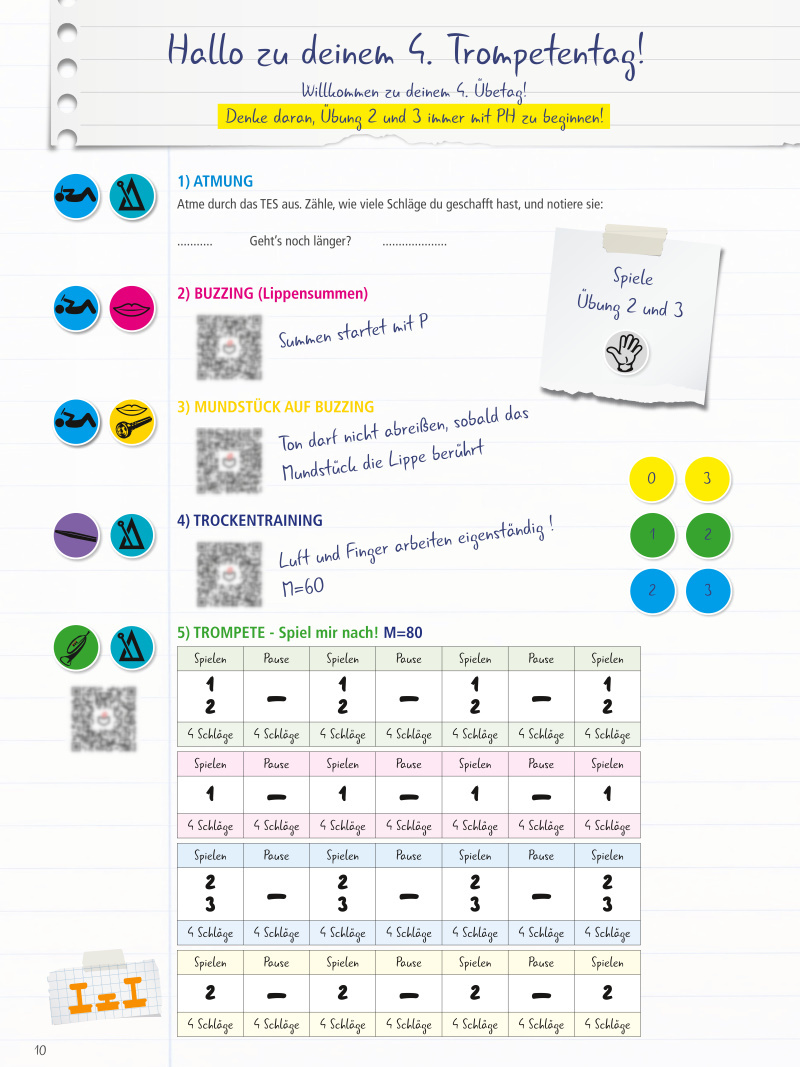
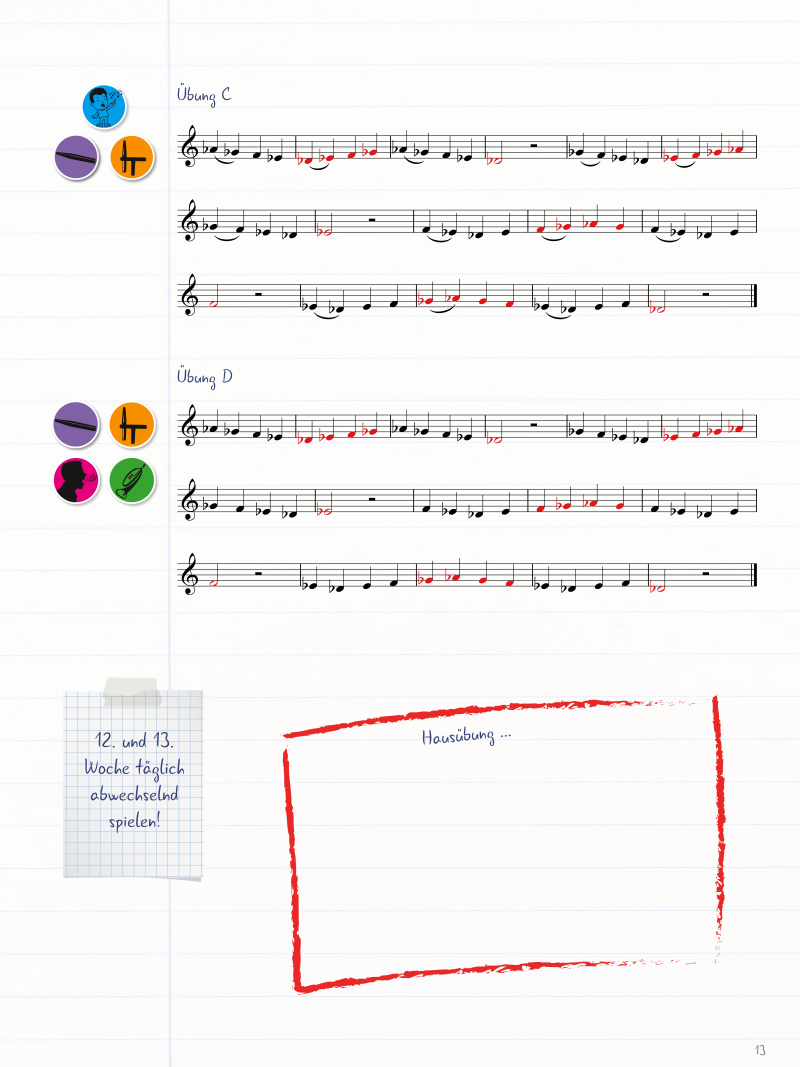
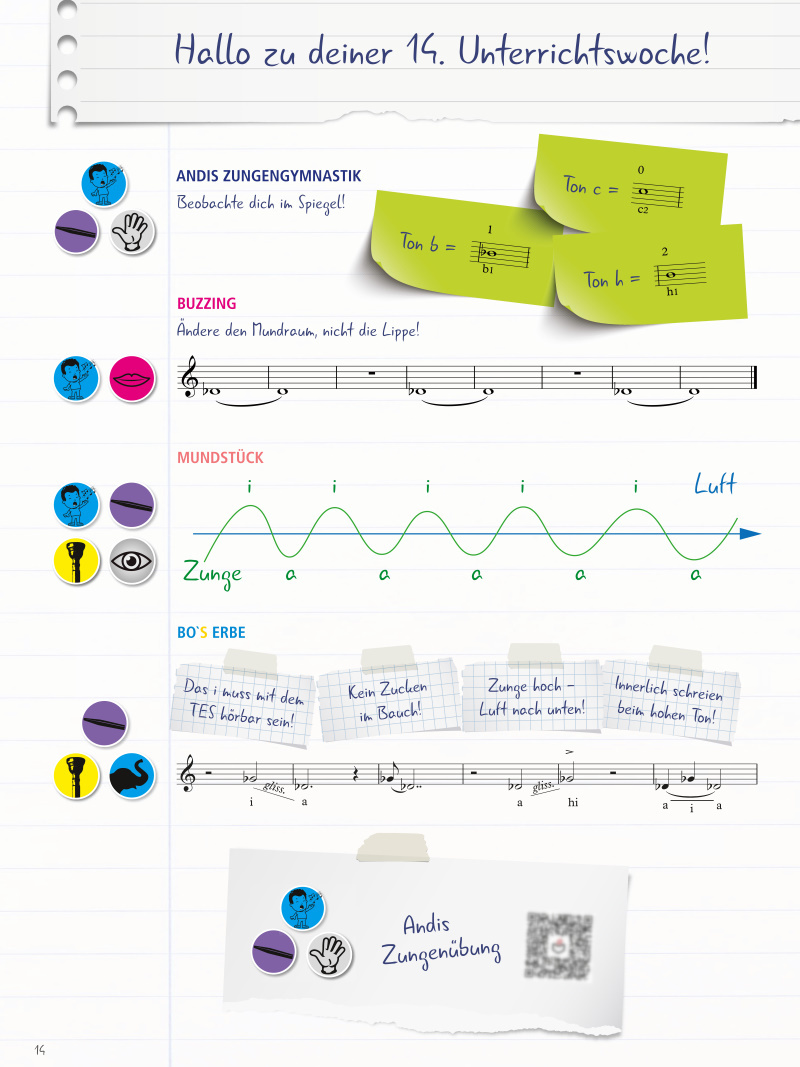
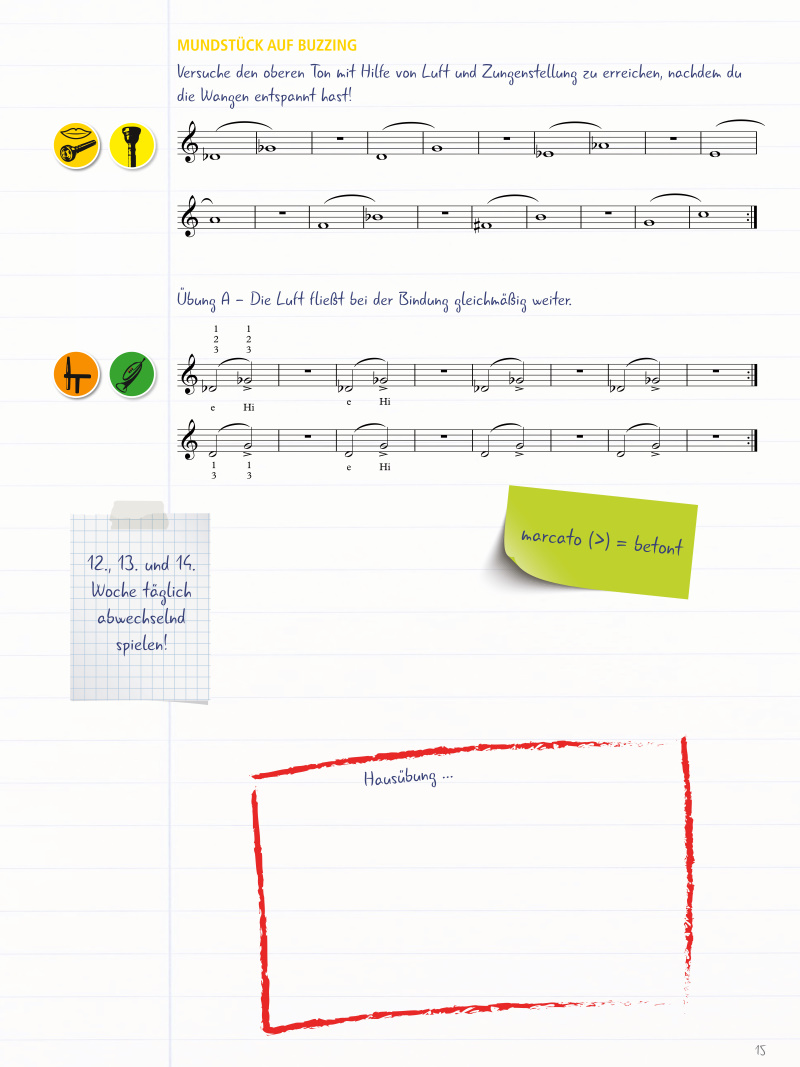
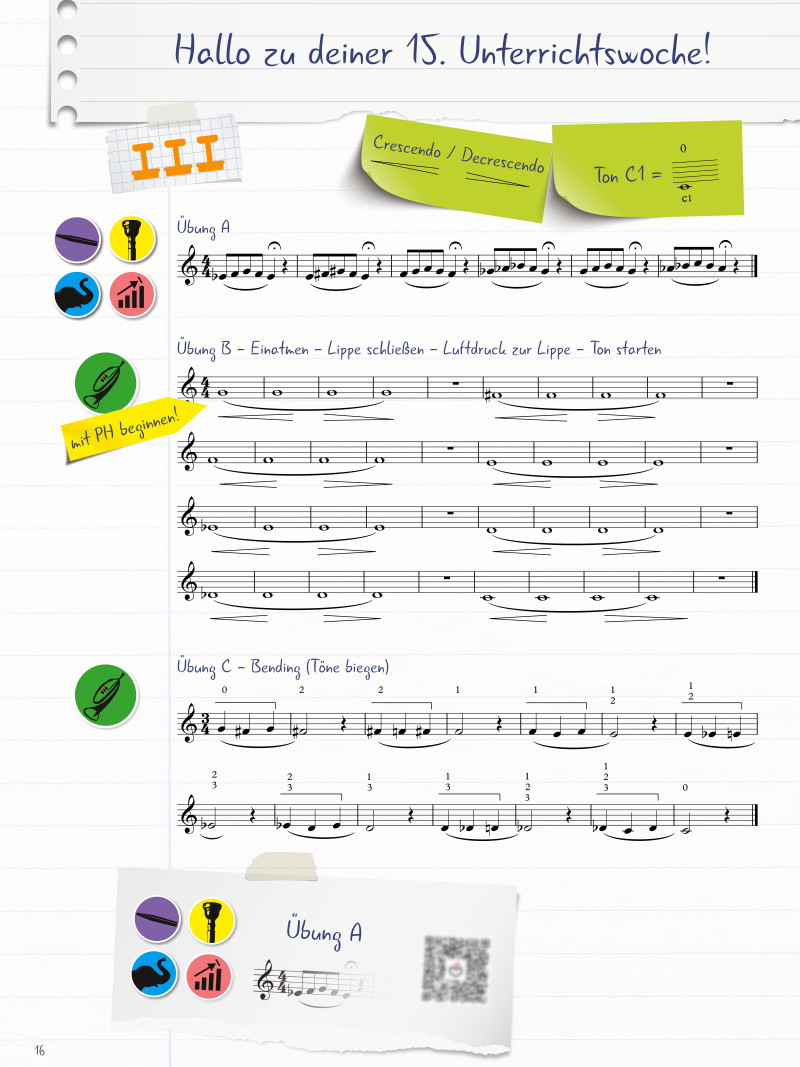
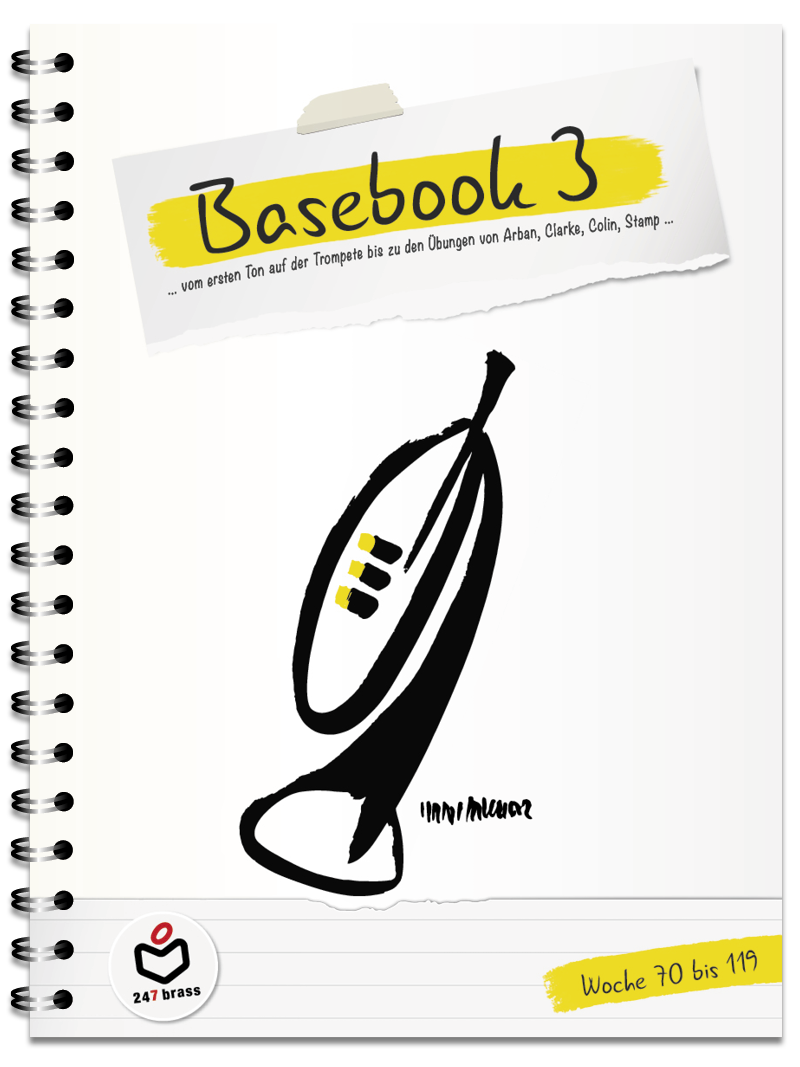
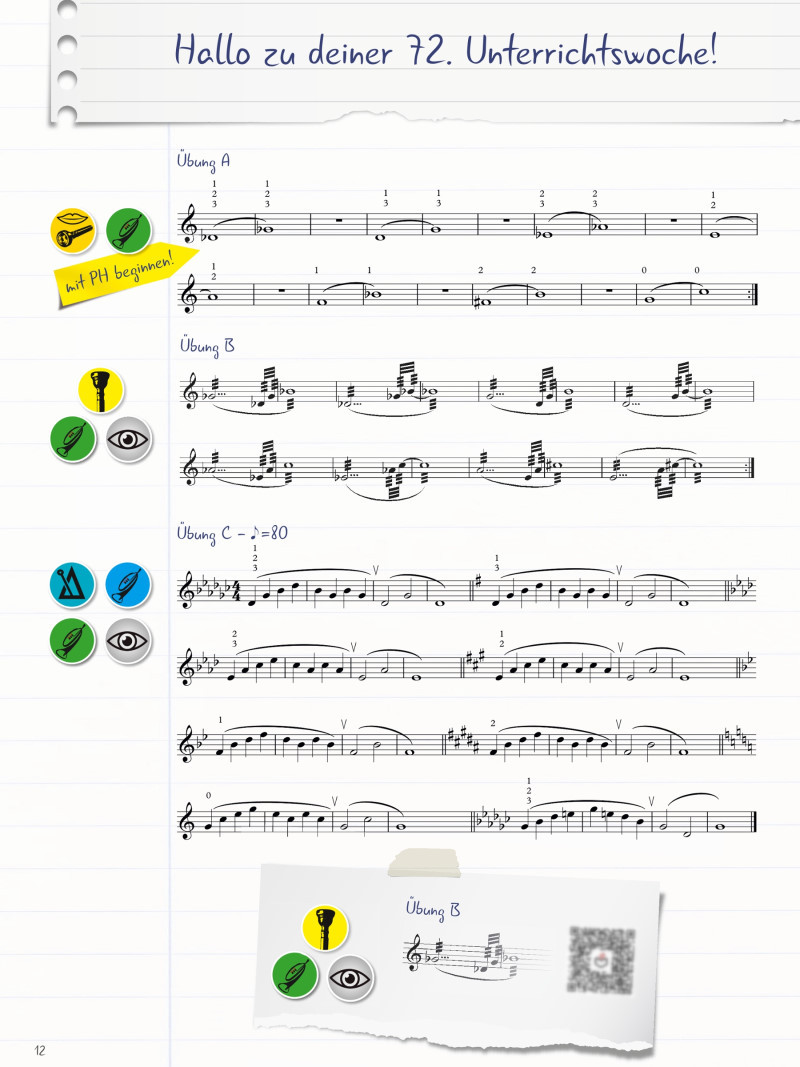
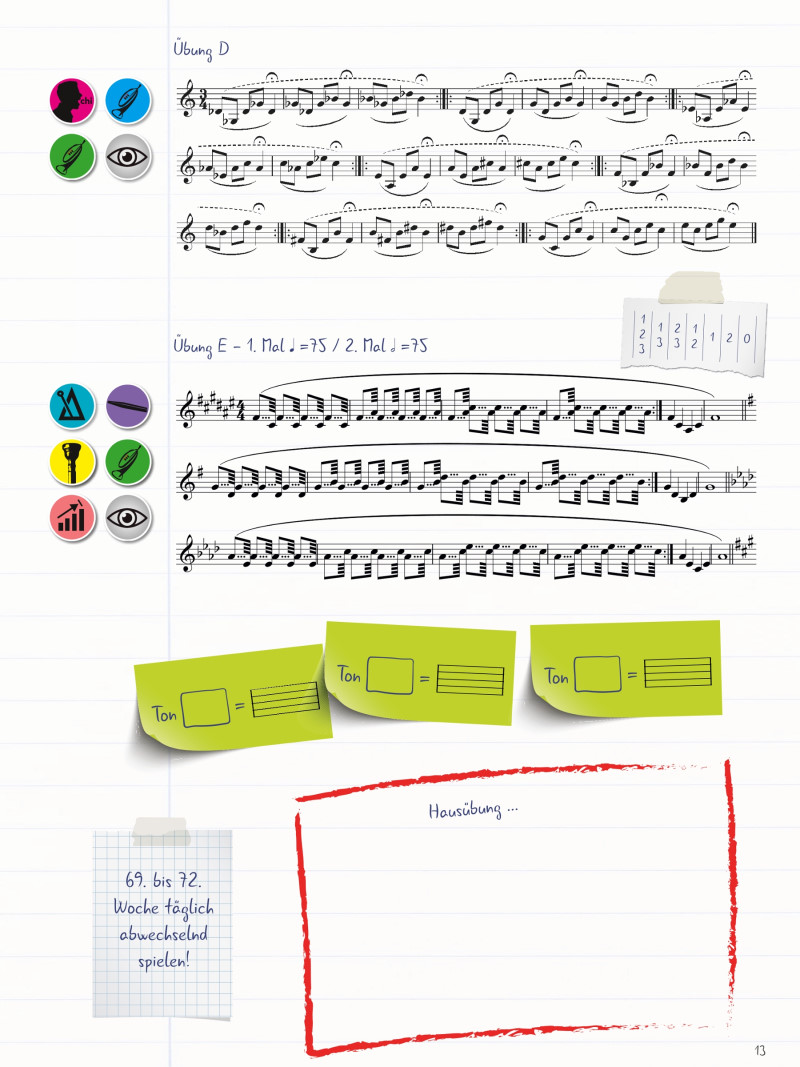
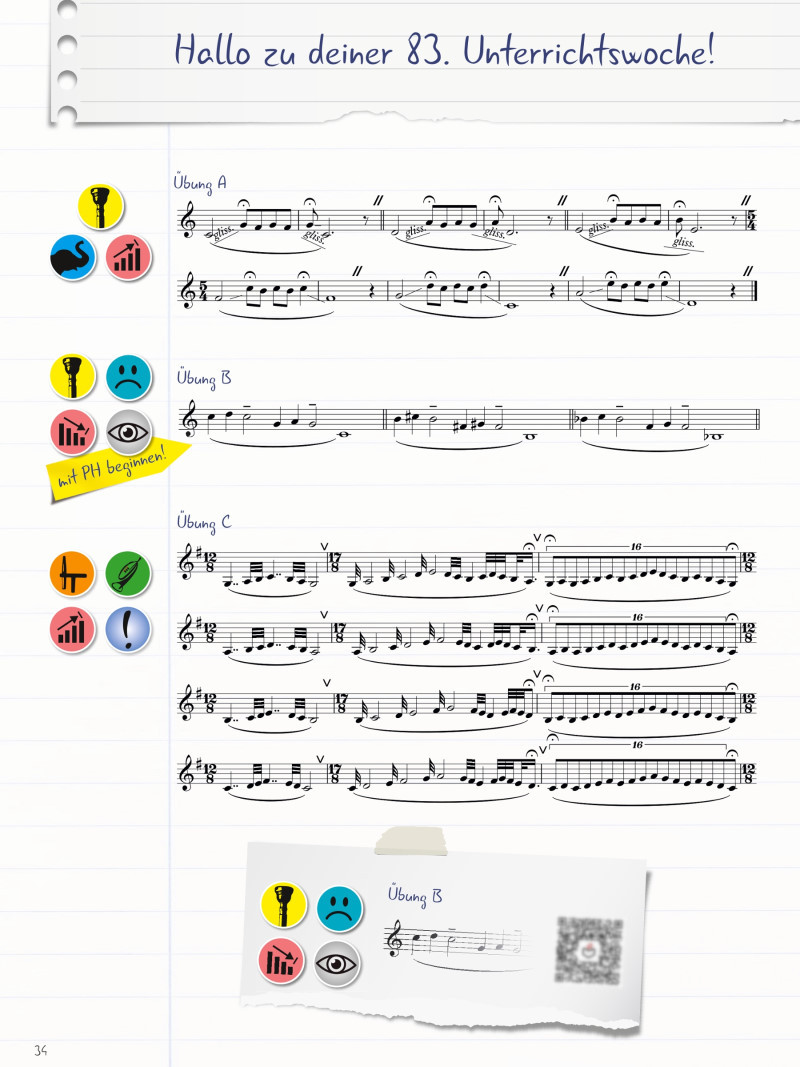
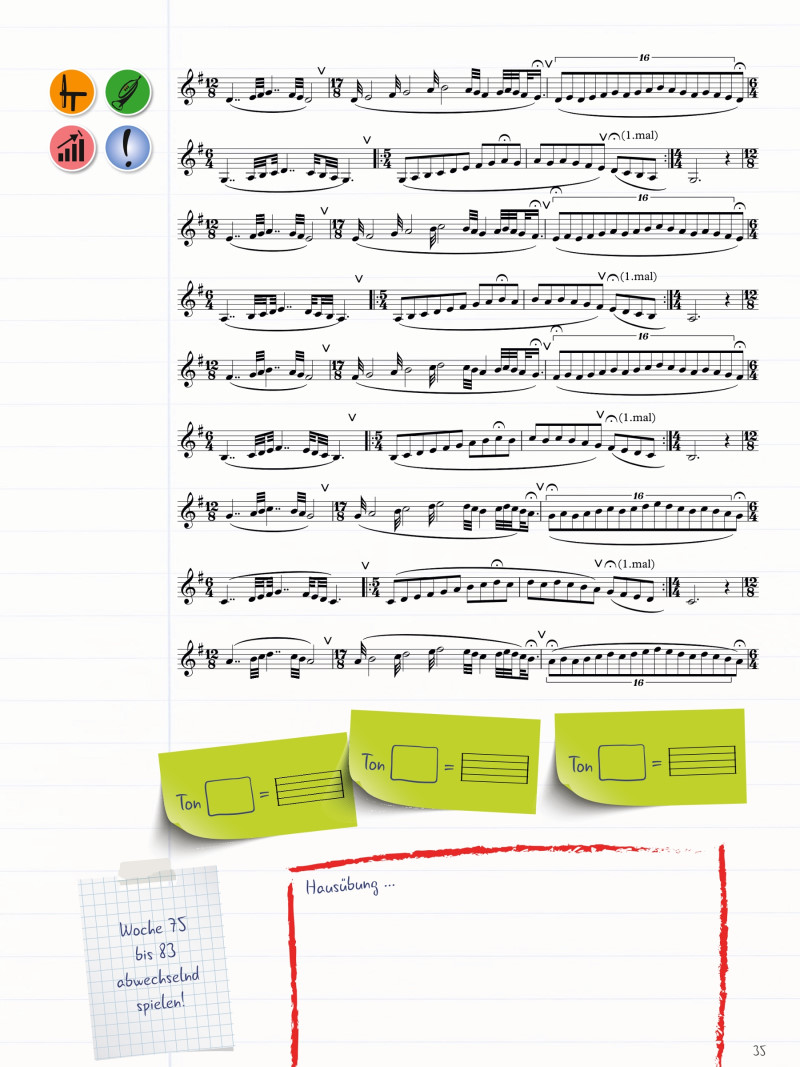
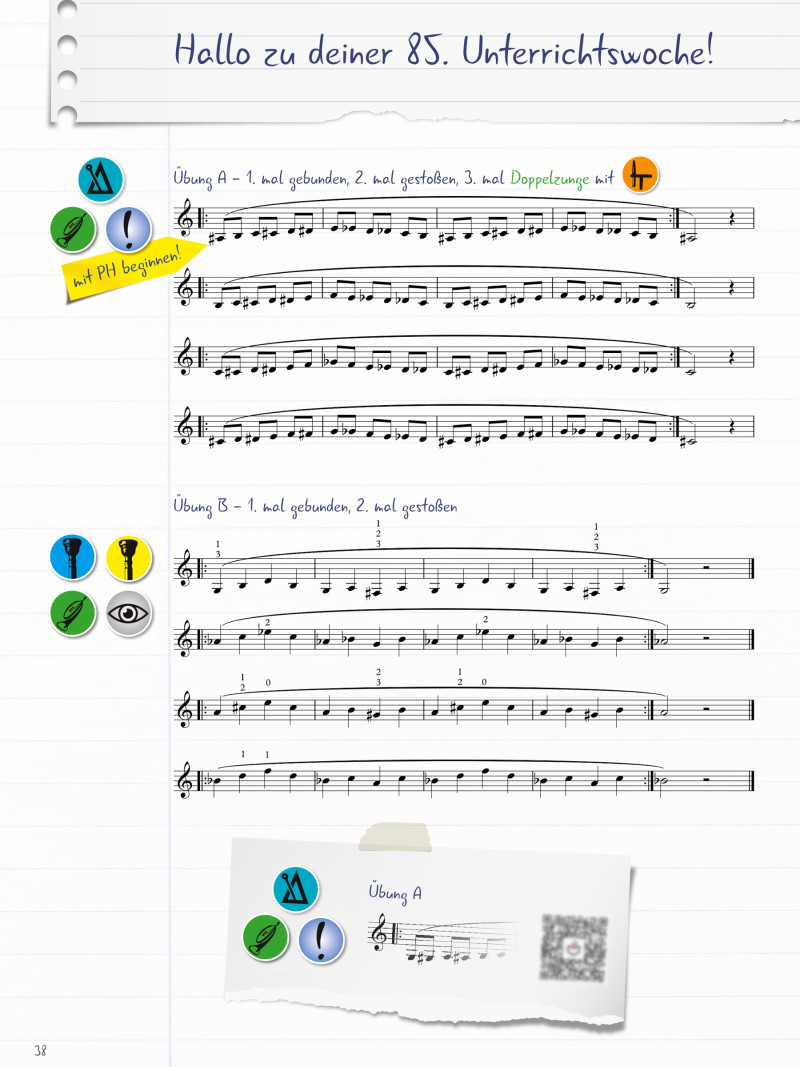
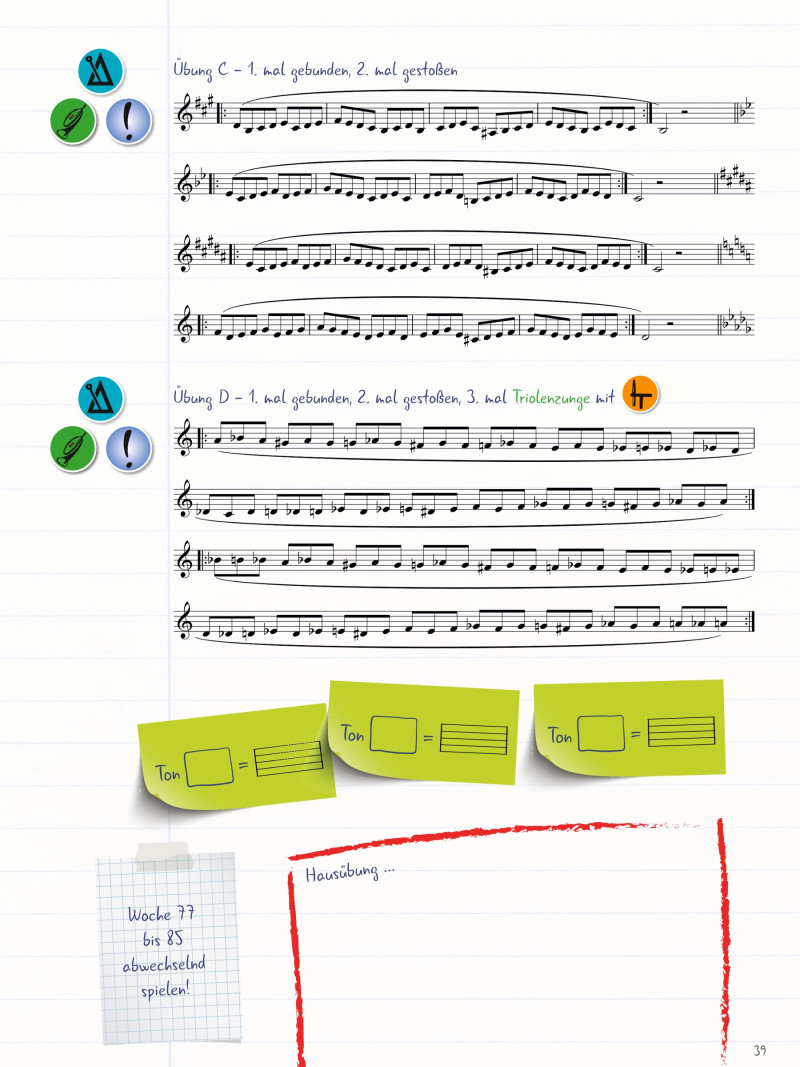
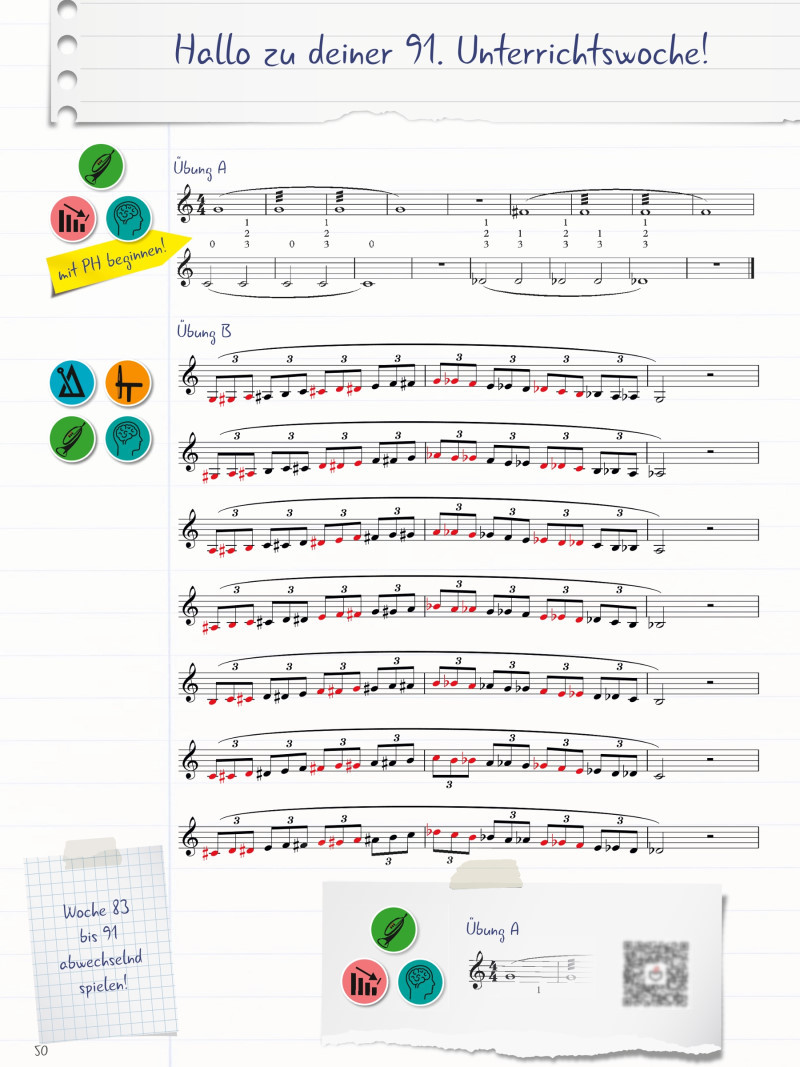
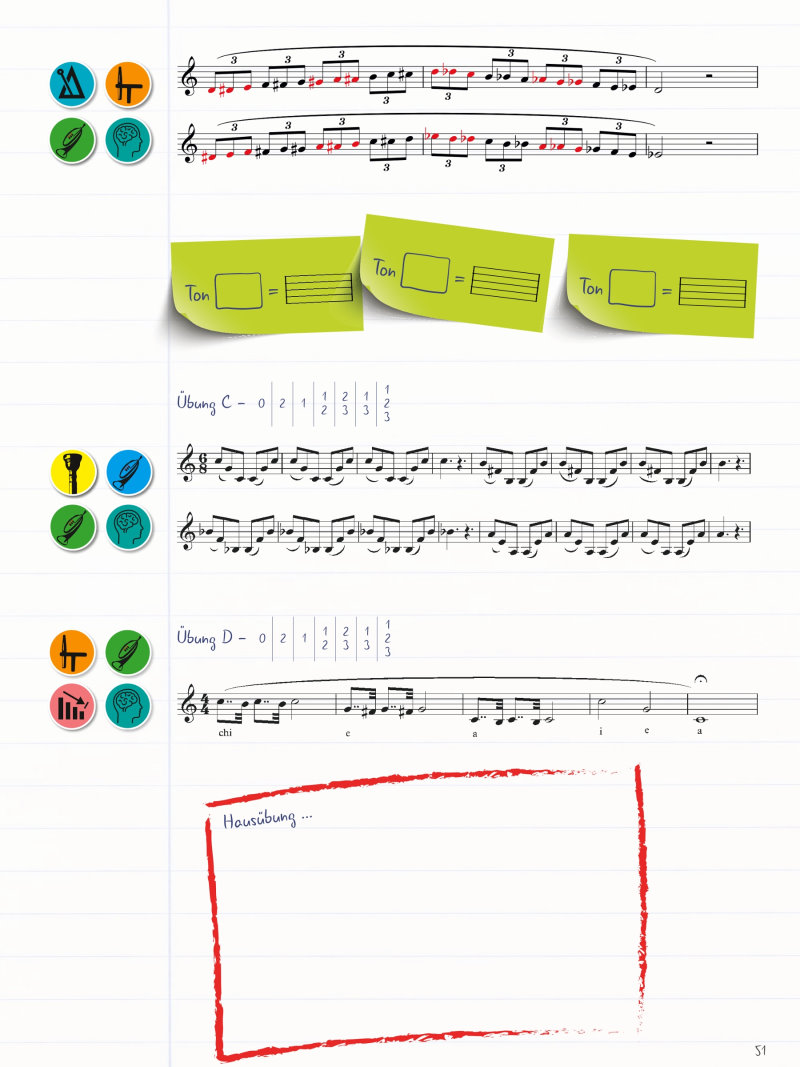
Entdecke unsere Basebook- Serie, die dir eine klare und strukturierte Anleitung bietet, um Luft, Finger und Zunge separat zu trainieren. Unabhängig von deinem Niveau wirst du durch diese Serie von Grundlagen bis zu fortgeschrittenen Techniken geführt.
Das Basebook Starterset ist der perfekte Einstieg für dich als Anfänger (Band 1) oder Fortgeschrittener (Band 2, 3 und 4) und verspricht eine solide Grundlage für dein musikalisches Können!
Videokurs
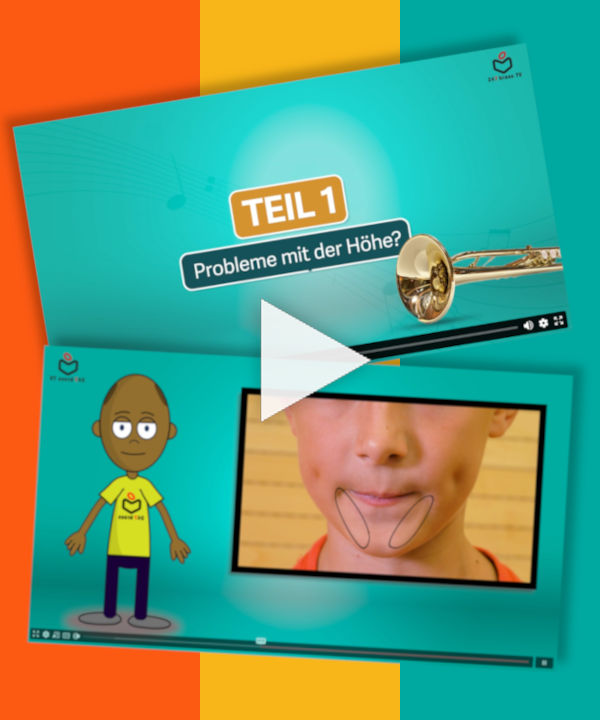
Hier findest du das gesammelte Insiderwissen wie ein Blechblasinstrument funktioniert.
Neben den Erklärvideos zu unserer Basebook-Serie, die dir ermöglichen, selbstständig zu lernen und richtig zu üben, werden dort auch Themen wie Motivation, Abkürzungen beim Üben und Talent besprochen.
Weiters beinhaltet das Bonusmaterial unveröffentlichte Interviews von Profimusikern exklusiv für dich. Lüfte das Geheimnis, das bisher nur den Profis vorenthalten war
Academy
Unser Coaching richtet sich nach deinem Leben. Du brauchst nicht jede Woche Unterricht. Stattdessen erhältst du die Freiheit, alle paar Wochen eine individuelle Betreuung von zu Hause aus, zu genießen.
Unser Coach gibt dir Anleitungen zum richtigen Üben und überprüft regelmäßig deinen Fortschritt. Hol dir die Betreuung die du verdienst, und entfalte dein musikalisches Potenzial mit dem 247brass Coaching.
Dein Weg zu einem verbesserten Spiel beginnt hier!
Ganzheitlicher Ansatz
Wir bieten nicht nur Noten, sondern eine umfassende Methode, die Körperwahrnehmung, Klang, Technik und die neuesten Erkenntnisse, wie Lernen funktioniert, vereint.
TES – Der Schlüssel zur richtigen Luftführung
Einzigartig bei 247brass ist das TES, ein Hilfsmittel, das die richtige Luftführung erlebbar macht. Korrigiere deine Vorstellung von Luftführung und spüre, vielleicht zum Erstenmal, wie sich ein konstanter Luftfluss anfühlt. Das TES programmiert deinen Körper mit dem richtigen Spielgefühl noch bevor du die Übung auf dem Instrument spielst.
Individuelles Coaching
Erlebe die bahnbrechende Möglichkeit, persönliche Betreuung von Profis und Hochschulprofessoren zu erhalten- ein Angebot, das es im Bereich des Hobbymusikers bisher so nicht gab
Blechbläser Workshop
ab 8. Jänner täglich auf YouTube
